Double Bass 101: Developing a Comfortable Bow Hold
Developing a comfortable bow hold is challenging for young string players first starting out. Rather, maintaining a comfortable, relaxed, and flexible bow is a process that continues even today for me as I develop and grow as a musician. Over the years, as I have taught as a public school orchestra director and a private bass teacher I’ve noticed common challenges for students as they have worked to develop their sound and confidence with the bow. Generally, it seems, the left hand moves far more quickly in developing than the bow. This makes sense due to the mechanics of learning how to hold the bow properly and produce a sound. Students must develop the fine motor skills and muscles to hold the bow and produce a sound. This takes time and continued practice. In this post, I’ll share some strategies I have used to help my young bass students develop a comfortable bow hold and strong sound.
Developing a Bow Hold - One Strategy
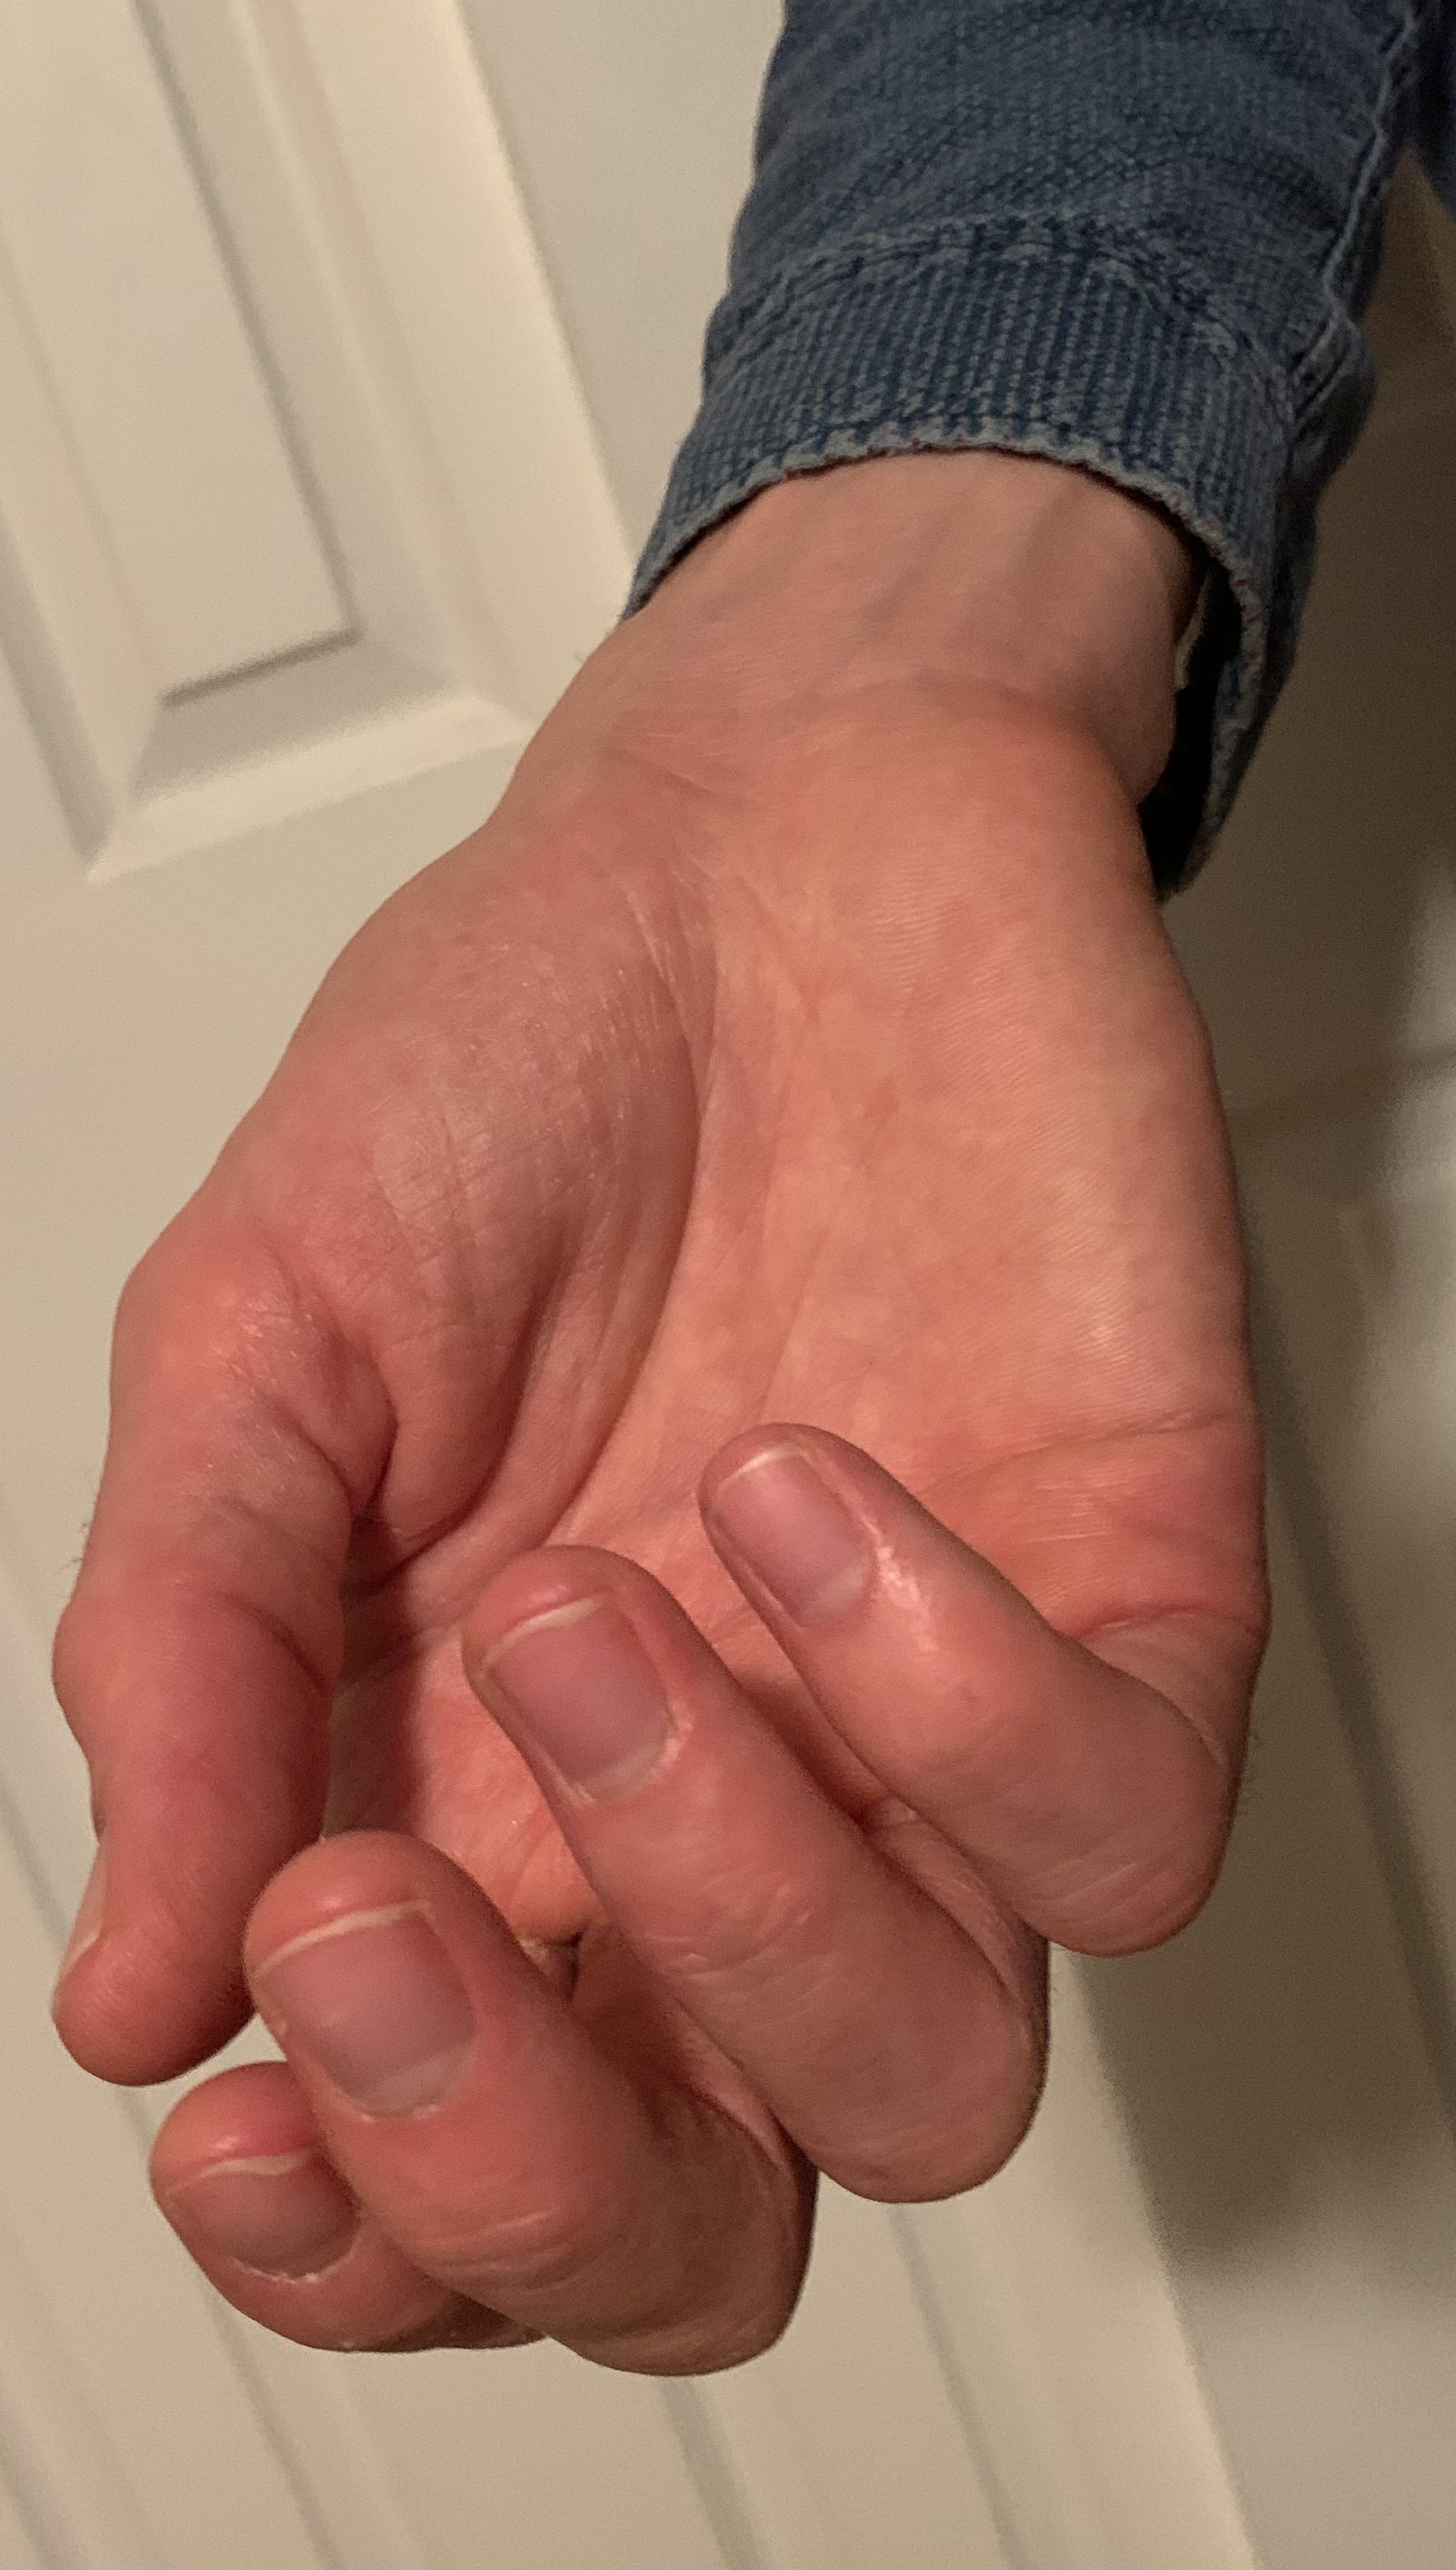
Consider a student who is new to the bass or perhaps one who is having some difficulty with the bow. Here are some steps I might take to help facilitate a comfortable bow hold. I like to start students with some gentle hand movements as a simple warm up. We warm up by gently moving the hand up and down at the wrist. I then have them flip their hand over so the palm of their right hand faces the ceiling. All their fingers should be relaxed and naturally curved (image 1). I point out that the shape of their hand in this position is similar to the shape of the hand needed for a solid bow hold.
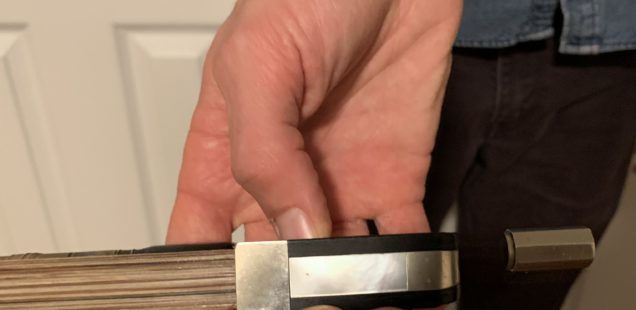
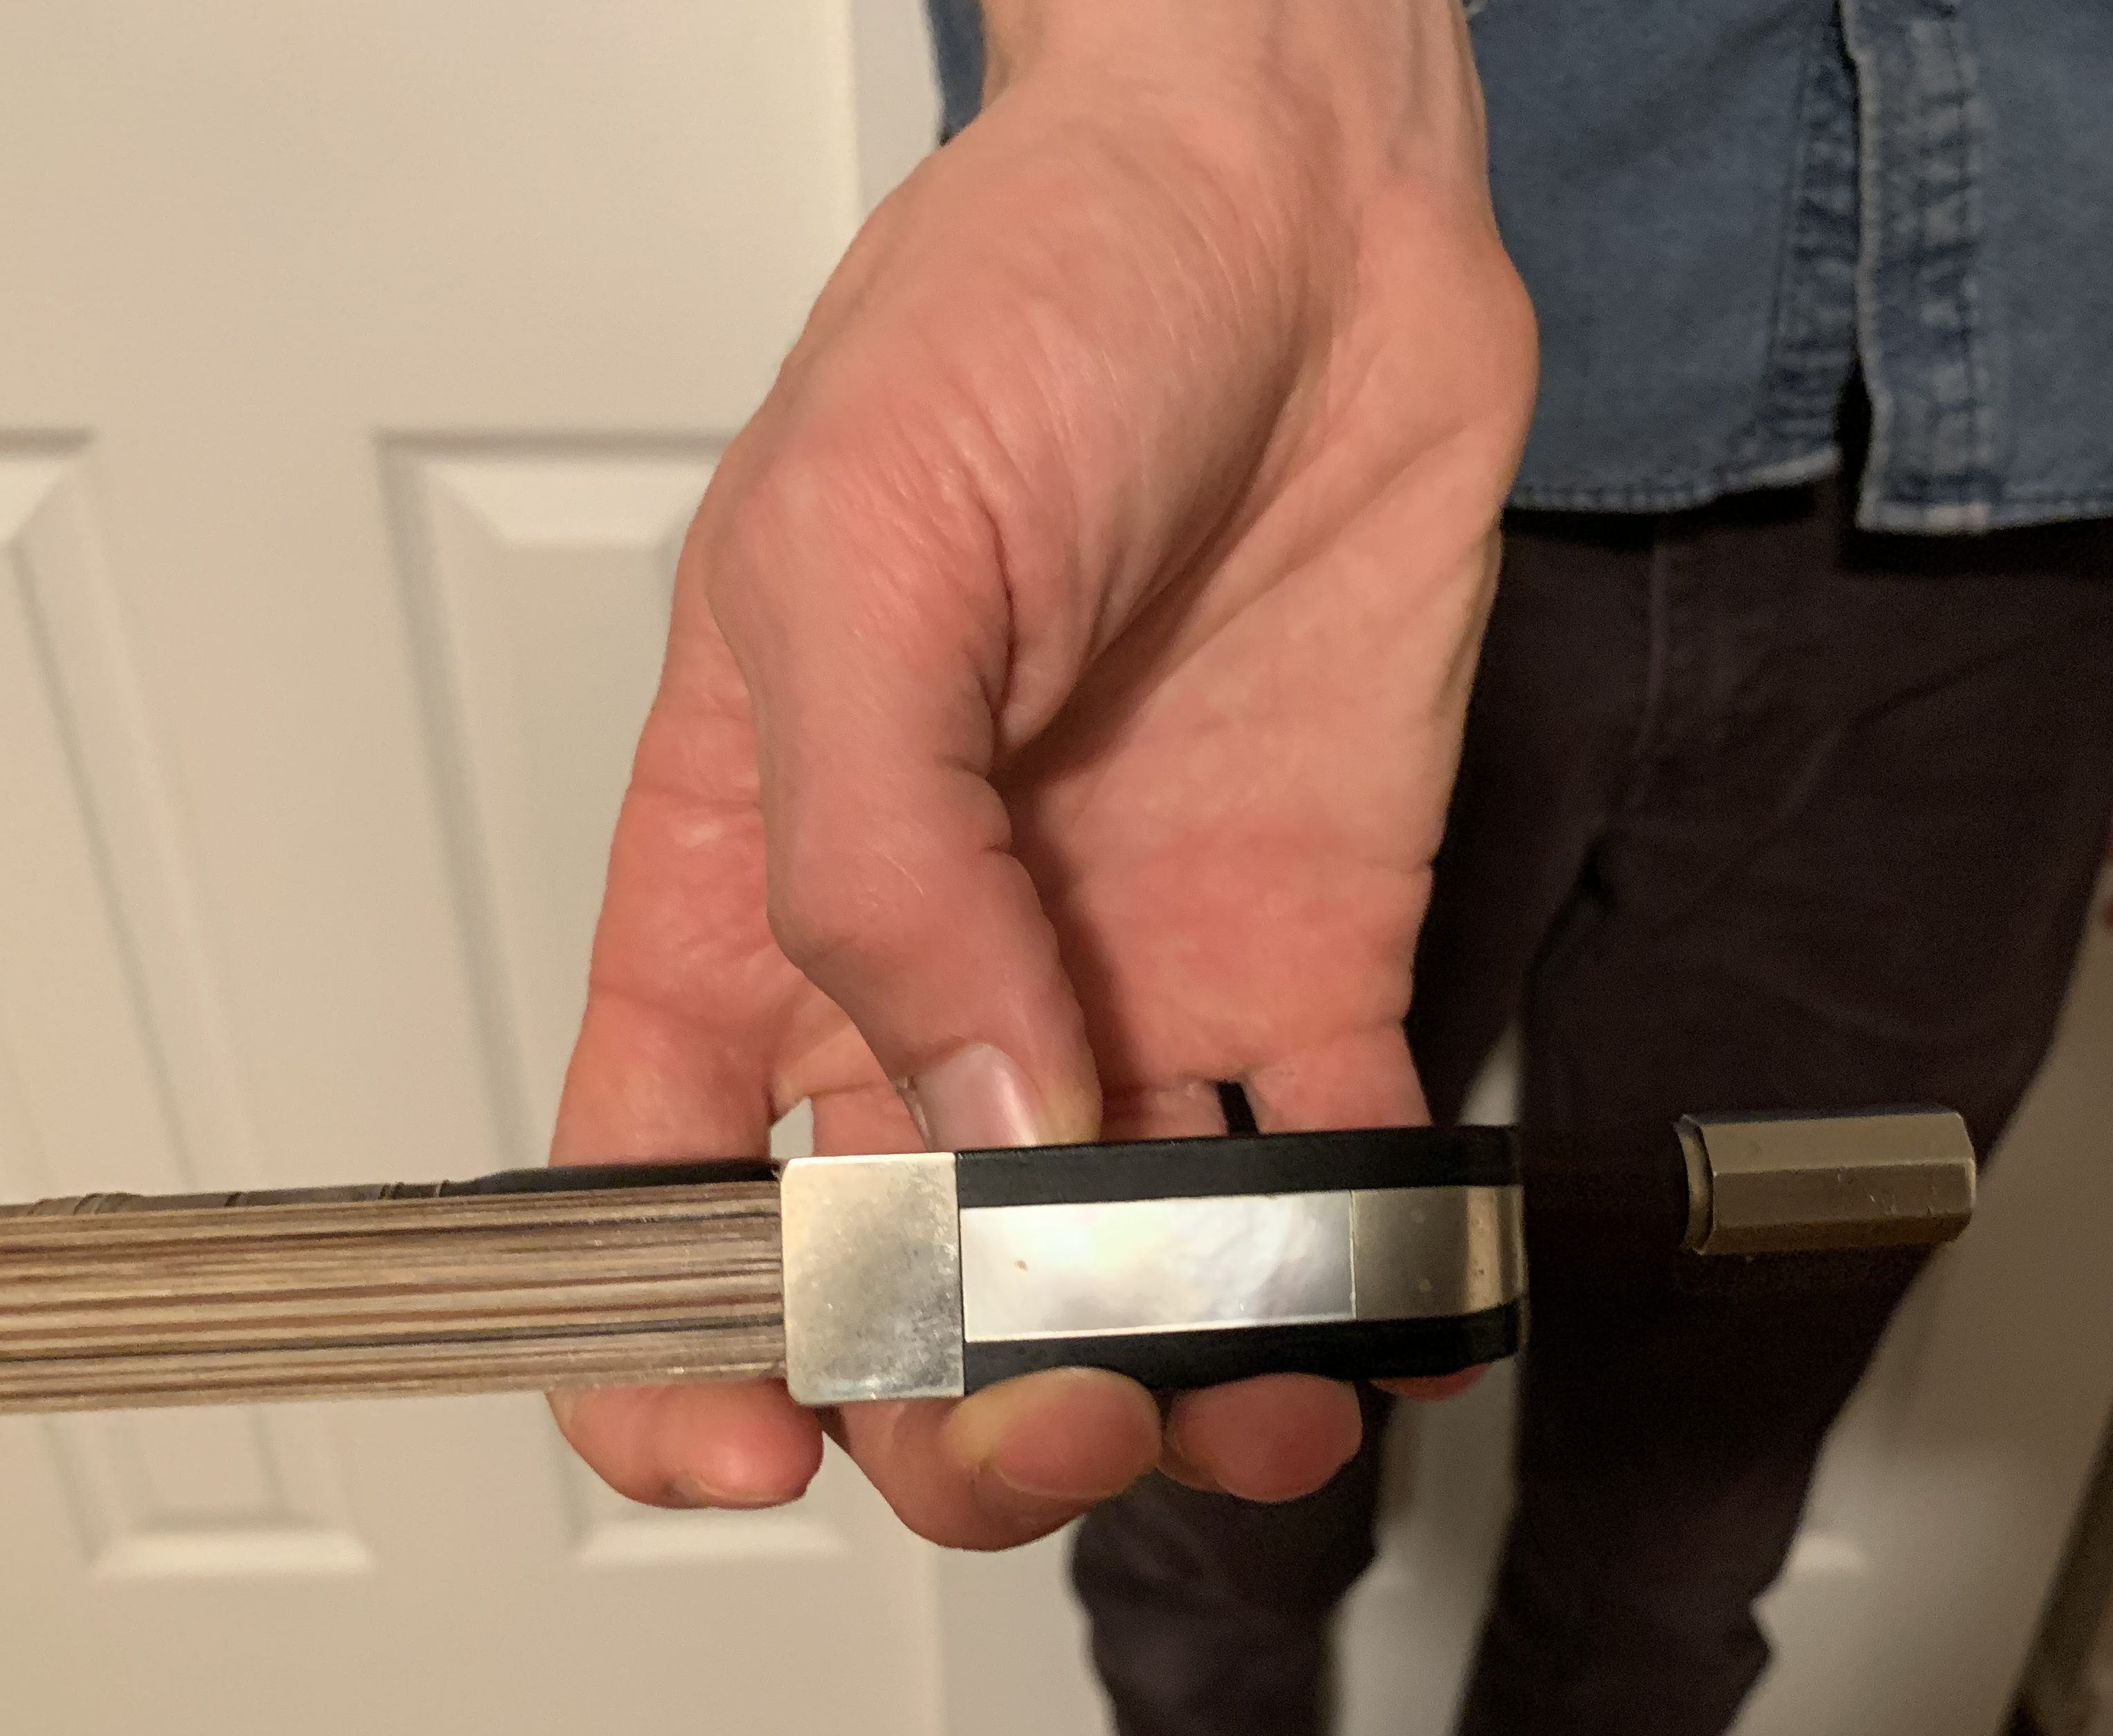
Prior to working with the bow, it's helpful to practice the steps that I'll outline below with a pencil. Many classroom methods start students by practicing their bow hold with a pencil. Assuming students are playing a bit with the bow, I might first have the student hold the bow, by the stick, in their left hand. Second, I have the student place their right hand fingers on the stick of the bow and let them hang on the stick at the second joint (image 2). This gives the student the sense that the first, second, third, and fourth fingers should be connected to the bow. Third, have the student now slide their right hand back toward the frog placing their thumb on the frog of the bow. Fourth, make sure the students thumb is slightly bent or "bumpy" as in image 3.
A teacher of mine mentioned to me in a lesson that it seemed to make sense to work on the bow hold while the bow was on the string. The feeling was that this is where the bow will naturally be and it makes sense to make adjustments to the bow while it is on string. Consider making changes to a students bow hold or trying this exercise while their bow is connected to the string as well.
Bow Exercises
Once students have the basic set up, I love to incorporate bow exercises into my teaching. I’ve learned these bow exercises from a variety of sources - Suzuki research I’ve done as well as string educator blogs. Bow exercises make working with the bow fun and engaging while also reinforcing essential concepts. Some of my favorite exercises to do with students are:
- “Bumpy” Thumb Push Ups: This exercises helps students to feel the difference between a locked and inflexible thumb and a “bumpy,” flexible thumb. I have my students turn their bows upside down so the horse hair faces the ceiling and extend their thumbs in and out. Essentially, a thumb push up.
- Windshield Wipes: Have students begin with the tips of their bows pointing to the ceiling. From here they should gently rotate their wrists so the hair of their bow now faces the floor, imitating the motion of a car’s windshield wipers - up and down.
- Spider Crawl: Have students climb up the stick of the bow starting at the frog and traveling to the tip of the bow. Their fingers should maintain contact on the stick as they travel up and back down the bow. As students do this, they should strive to keep a solid bow hold. Going back down is definitely more difficult!
- Parallel Motion: Have students turn their bows horizontal to the floor with the horse hair facing them, just as they would if they were playing their instruments. Next, have the students move their bows back and forth in front of them and parallel to the floor. This exercise supports the horizontal bow motion that is needed when playing the bass.
- Bow Rocks: Have the students rock their bows back and forth over all four strings. This promotes the awareness of bow angle and string crossings.
Producing a Sound
I generally start students out playing open strings and in particular the open D or G string since the weight of these strings is less. In the beginning, I will just have a student play down and up strokes to get the sense of this arm motion. In beginning lessons, I will mention bow placement and we will experiment with producing a sound at various points on the string (closer to the fingerboard and so on). I will also note to the student arm weight and point out how the bow should be connected to the string in order to make a full, smooth sound. We will revisit any bow exercises or readjust the bow hold as needed. The primary focus is to help the student produce a beautiful tone on the bass.
Conclusion
Students may face challenges when working with the bow. Common issues I have encountered are the bow slips out of their hand, the tip of the bow drops, the bow “slip slides” around on the string, or their sound is weak due to a lack of weight.
Going back to basics never hurts and assessing a proper bow hold is fundamental to producing a solid sound. Isolating one challenge at a time is helpful so students can focus on one concept at a time and make the proper changes.
What strategies do you use for helping students develop a comfortable bow hold? What bow exercises do you enjoy teaching?


