Create Online Note Reading Activities Using Power Point Slides
I was recently inspired by a colleague of mine who was creating interactive Power Point slides to use with her students in the remote teaching setting. The focus was on note value identification. The activity worked like this. Students could drag and drop the name of the note value and match it up with a definition. Simple and so effective for practicing fundamental skills.
I wanted to create some digital practice tools of my own.
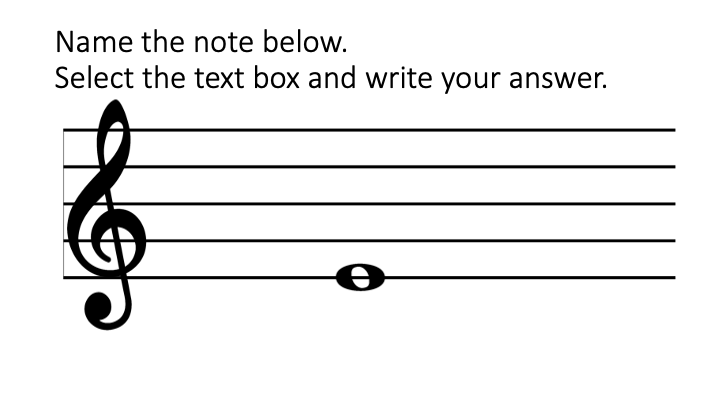
Several of my younger students are struggling with note reading. Therefore, to reinforce and help them practice note reading I created slides in Power Point for each clef (treble, bass, and alto). The students simply review the note on the staff, create a text box, and enter the name of the note on the slide. Again, so simple and effective.
Create Your Own
To do this, I searched for and downloaded a jpeg image of the staff, each instrument clef, a final bar line, and a whole note value. In a blank slide, I first pasted the staff, followed by the clef, then the final bar line. I then moved the whole note onto the line or space I wanted the students to name. Once this is done, the work is almost complete. I copied the slide over and over and simply moved the note on the staff to create different note names on each new slide. To add sharps and flats I found another downloadable image of the accidental marking, copied the image, and pasted it into my slide on the appropriate line or space.
I did make three separate files for each clef. The process is the same as above.
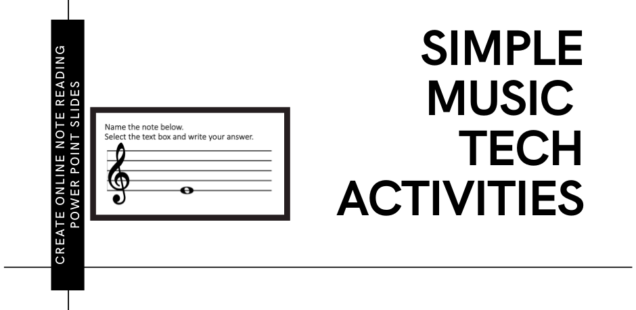
For an example of what my slides looked like, see the image below.
Share with Students
I shared my Power Point slides with my students through Schoology, the platform we are using in my district. It could work similarly in any learning system or by simply sending the Power Point file to students through e-mail.
For students to fill out their answers they need to download the file to their computer, save, and open. Students enter their answers by selecting the text box icon (insert -> text box).This creates a text box where they can write their answer. Once they entered their responses for all the slides, they simply resave their file, upload it, and send it back.
Conclusion
I found a lot of success with this activity as it is very easy to give students feedback, correct responses, and have students redo for more practice. Additionally, you can also expand the assignment by having students not only identify note names, but also give the fingering for a note as well.
This is a super simple way for students to get extra practice with note identification and for us as teachers to have another resource while teaching online. Be creative and develop some interactive slides of your own.

Really nice
Was finding difficult to enter the answer in tje sample sent